A: Computer Graphics
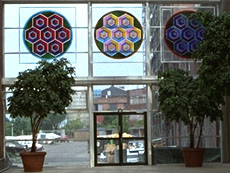
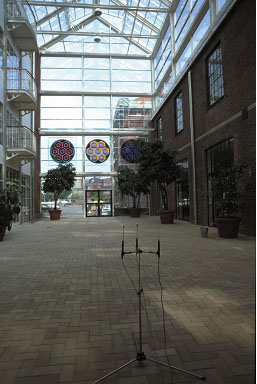
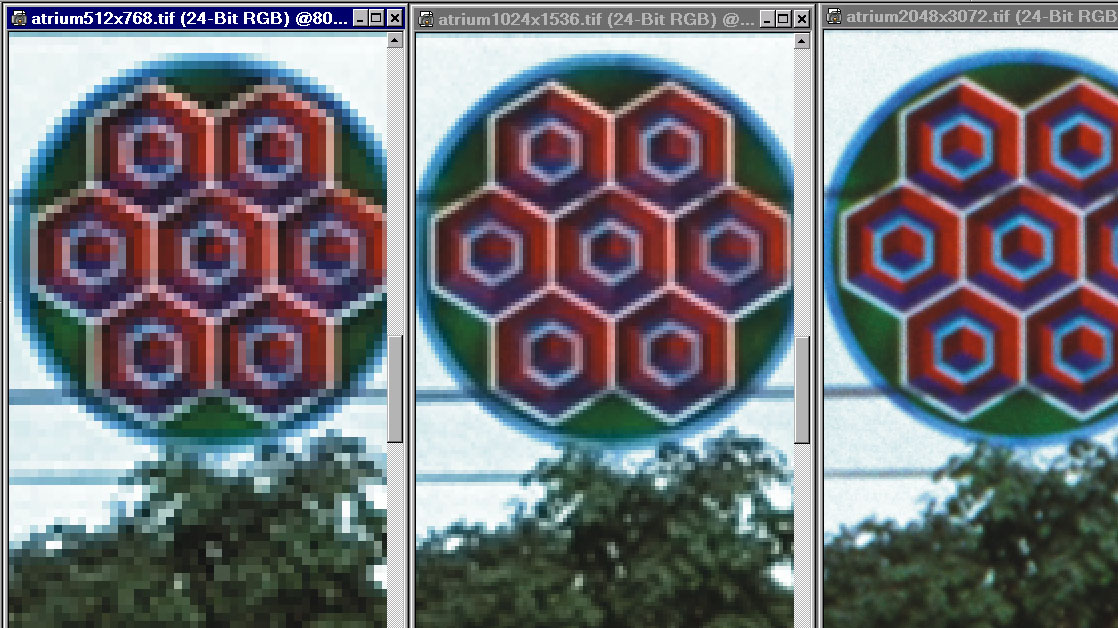
The image below is found at http://it.civil.aau.dk/ks/grafik/ in three
different resolutions.
- 512x768 pixels (1.1 Mb)
- 1024x1536 pixels (4.6 Mb)
- 2048x3072 pixels (18.4 Mb)

This or a similar cut-out from the image shall be placed in a printed publication
where the image shall have width 6.5 cm and a resolution 170 dpi.
Use e.g. Corel Photopaint (available on \\studserver\pub\software\Corel\Graphics Suite 12) or Microsoft Photo Editor (comes with MS Office) or any other image editor.
Chose a sufficient resolution of the original image to create the cut-out which fulfills the above requirements.
You can also chose to use your own images.

- Save the image in TIFF format.
- How big is the file?
- How big will the file be in 300 dpi resolution in TIFF format.
- The image shall now be presented on a WWW-page. The width shall be
300 pixels. Make a jpg-file and a gif-file with this image. How big are the files? (Try out high and low compression of the images in jpg format).
Give comments on the image quality and file sizes.
- Elaborate different tools you find in your image editing program (filters,
transformations, and colors)
- Try to make 360 degree panoramic photos. Discuss advantages and disadvanteges of 360 degree photos.Try http://www.albatrossdesign.com
or use a similar tool of your own choice) Use your own photos or try the samples in http://it.bt.aau.dk/ks/grafik/360/ Consider file size!!!
- Try to make Flash presentations (e.g. with Corel R.A.V.E, available on \\studserver). Discuss if it can give "added value" to your site.
- Try to make Scalable Vector Graphics with Corel Draw, available on \\studserver)
-
- Consider file size, storage requirement and download time for all the graphics, you use.
-
- Make a small report on your experience with graphics in you project and put it in your project report and on your website!!!

Resolution
File size |
25%
6% |
50%
25% |
100%
100%
Elaborate |
atrium256x384.tif
udsnit.tif
B: Kom igang med Byggeweb
Send mail til ks@civil.aau.dk med fulde navn og mailadresse på gruppens projektadministrator
Efter at have modtaget brugernavn opretter projektadministratoren de øvrige gruppemedlemmer som brugere
Opret jeres projekt baseret på standardskabelonen
Modificer mappestrukturen efter gruppens behov i hhv arbejdsområde og udgivelsesområde
Lad forskellige brugere lægge filer ind, og eksperimentér med udgivelses-og fordelingsområdet. |


